Blacklist - Block unwanted orders
Learn how to use Shoporama's blacklist feature to block spam orders and unwanted customers by blacklisting email, phone number or IP address.
Hvis din webshop bliver udsat for spam-ordrer eller credit card testing, kan du bruge Shoporamas blacklist-funktion til at blokere uønskede kunder. Du kan blackliste på baggrund af email, telefonnummer eller IP-adresse. Når en blokeret kunde forsøger at gennemføre et køb, bliver de stille og roligt sendt tilbage til kurven — uden at få en fejlbesked der afslører, at de er blacklistet.
Blacklist-funktionen er slået fra som standard og skal aktiveres manuelt for din shop.
Aktivér blacklist
- Gå til Ordrer → Blacklist i menuen
- Klik på knappen Aktivér blacklist øverst på siden
- Statusboksen skifter til grøn og viser at blacklisting er aktiv
Du kan til enhver tid deaktivere blacklisting ved at klikke på Deaktivér blacklist. Dine blacklist-entries bliver ikke slettet — de bliver bare ikke tjekket ved checkout, så du kan trygt slå funktionen til og fra.
Tilføj en blacklist-entry manuelt
- Gå til Ordrer → Blacklist
- Klik på Opret ny
- Vælg type: Email, Telefon eller IP-adresse
- Indtast den værdi du vil blokere
- Tilføj eventuelt en intern note (fx hvorfor kunden er blacklistet)
- Klik Gem
Blacklist fra ordreredigering
Når du kigger på en specifik ordre, kan du hurtigt blackliste kundens oplysninger direkte fra redigeringssiden:
- Åbn den ordre du vil blackliste fra
- Under ordredetaljerne finder du tre røde knapper til at blackliste kundens email, telefonnummer og IP-adresse
- Klik på den knap der svarer til det du vil blackliste
- Bekræft i dialogen der popper op
- Du bliver sendt til blacklist-formularen med værdien udfyldt på forhånd, hvor du kan tilføje en note og gemme
Knapperne vises kun når blacklist-funktionen er aktiveret for din shop.
Blacklist fra ordreoversigten
Du kan også blackliste flere ordrer på én gang direkte fra ordreoversigten:
- Gå til Ordrer → Alle ordrer
- Markér de ordrer du vil blackliste med checkboxene
- Klik på Flere-dropdown-menuen
- Vælg Blacklist (den røde knap nederst i menuen)
- Bekræft i dialogen
Denne handling blacklister automatisk email og telefonnummer fra de valgte ordrer og annullerer dem. IP-adressen blacklistes ikke automatisk ved bulk-handlinger, da IP'en på ordren i nogle tilfælde kan være betalingsgatewayens IP og ikke kundens. Hvis du vil blackliste en IP-adresse, kan du gøre det fra ordreredigeringssiden eller manuelt fra blacklist-siden.
Knappen vises kun når blacklist-funktionen er aktiveret for din shop.
Hvad sker der når en blacklistet kunde handler?
Når en kunde forsøger at gennemføre et køb, og deres email, telefonnummer eller IP-adresse matcher en entry på din blacklist, sker følgende:
- Kunden sendes tilbage til kurven uden nogen fejlbesked
- Kunden får ikke at vide at de er blacklistet
- Forsøget logges automatisk, så du kan se det i blacklist-loggen
Tjekket sker efter kunden har udfyldt adresseoplysninger, men inden ordren oprettes og betaling starter.
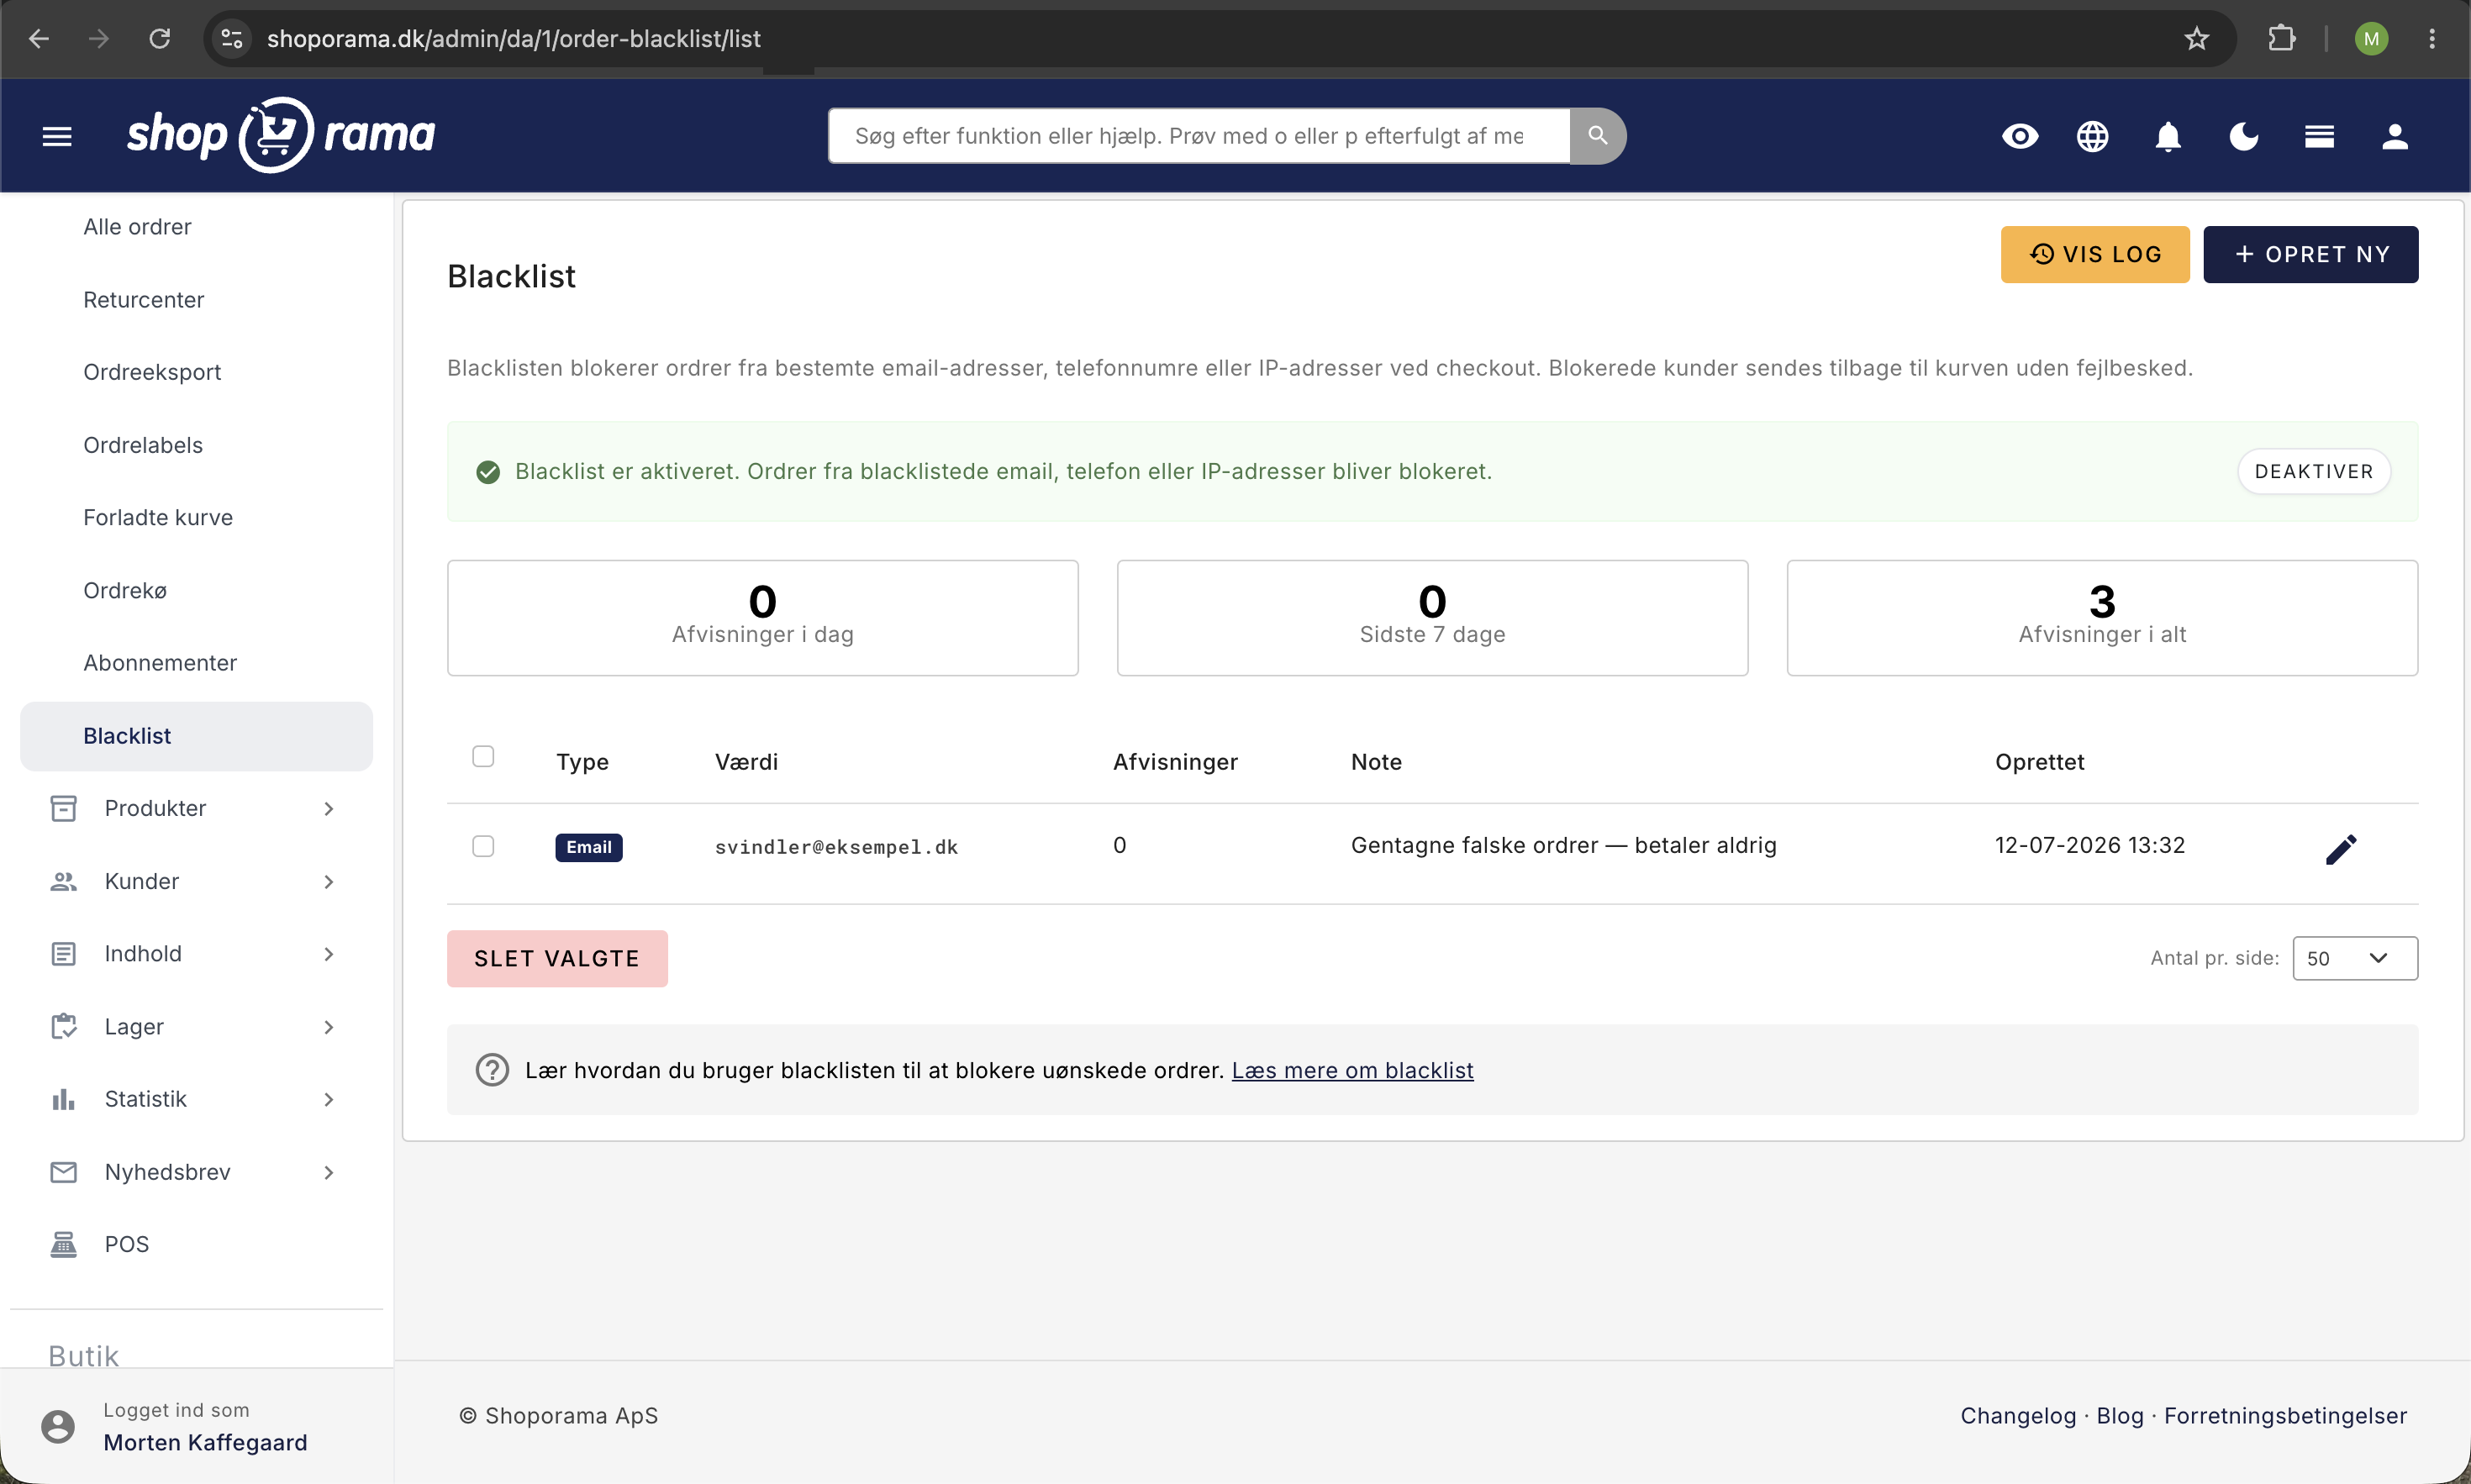
Statistik og log
På blacklist-oversigten kan du se tre statistik-kort:
- Afvisninger i dag — antal blokerede forsøg i dag
- Sidste 7 dage — antal blokerede forsøg den seneste uge
- Afvisninger i alt — samlet antal blokerede forsøg
Hver entry i listen viser desuden hvor mange gange netop den entry har blokeret en kunde.
Klik på Vis log for at se en detaljeret log over alle blokerede forsøg. Loggen viser dato, hvilken type der matchede (email/telefon/IP), den matchede værdi, samt kundens email, telefon, IP-adresse og browser-oplysninger.
Redigér og slet entries
Du kan redigere noten på en eksisterende blacklist-entry ved at klikke på redigér-ikonet i listen. Type og værdi kan ikke ændres — hvis du vil ændre dem, skal du slette entry'en og oprette en ny.
For at slette entries kan du enten slette fra redigeringssiden eller markere flere entries med checkboxene i listen og klikke Slet valgte.
Related articles
What emails does Shoporama send to my customers?
Overview of automatic emails Shoporama sends to your customers - order confirmation, abandoned baskets, track-and-trace, product reviews, and more.
Which templates are used for which emails?
Complete overview of all email templates in Shoporama - order confirmations, abandoned baskets, return labels, product reviews and much more.
Order flow and automated emails
Understand the entire flow from checkout to order confirmation. Learn when automatic emails are sent, what happens with different payment methods...
Related features
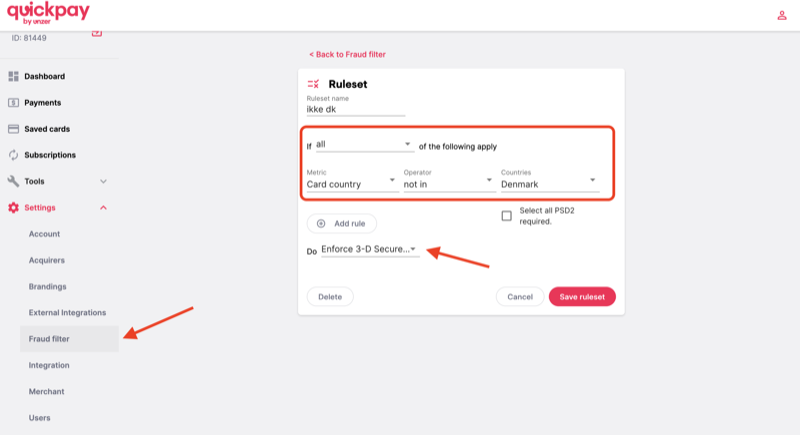
Protect your webshop against card fraud with QuickPay's Fraud Filter
Learn how to use QuickPay's free Fraud Filter to stop fraudsters. Block foreign cards, claim 3-D Secure and protect your business.
Blacklist / Fraud prevention
Protect your online store from fraud and spam with Shoporama's blacklist feature. Block unwanted orders based on email, IP address and phone number.