Split testing in your Shoporama online store
Guide to setting up and running server-side split tests (A/B tests) in Shoporama.
A/B testing is an effective way to improve your online store. There are various tools available for conducting A/B tests, and most of them run on the client side using JavaScript. This means they come with some security risks and can also slow down your store. If you use Shoporama’s split-testing tool, your store will run just as fast as if you weren’t split-testing (with the exception that you can’t use caching while your split test is running).
Setting up a split test on Shoporama is a bit more technical than with tools like Visual Website Optimizer, since you need to be familiar with your template. But on the other hand, the experience will be somewhat better for your customers, since they won’t experience the slight “delay” caused by JavaScript-based split-testing tools.
In this article, you’ll be guided through how to set up a simple split test in Shoporama.
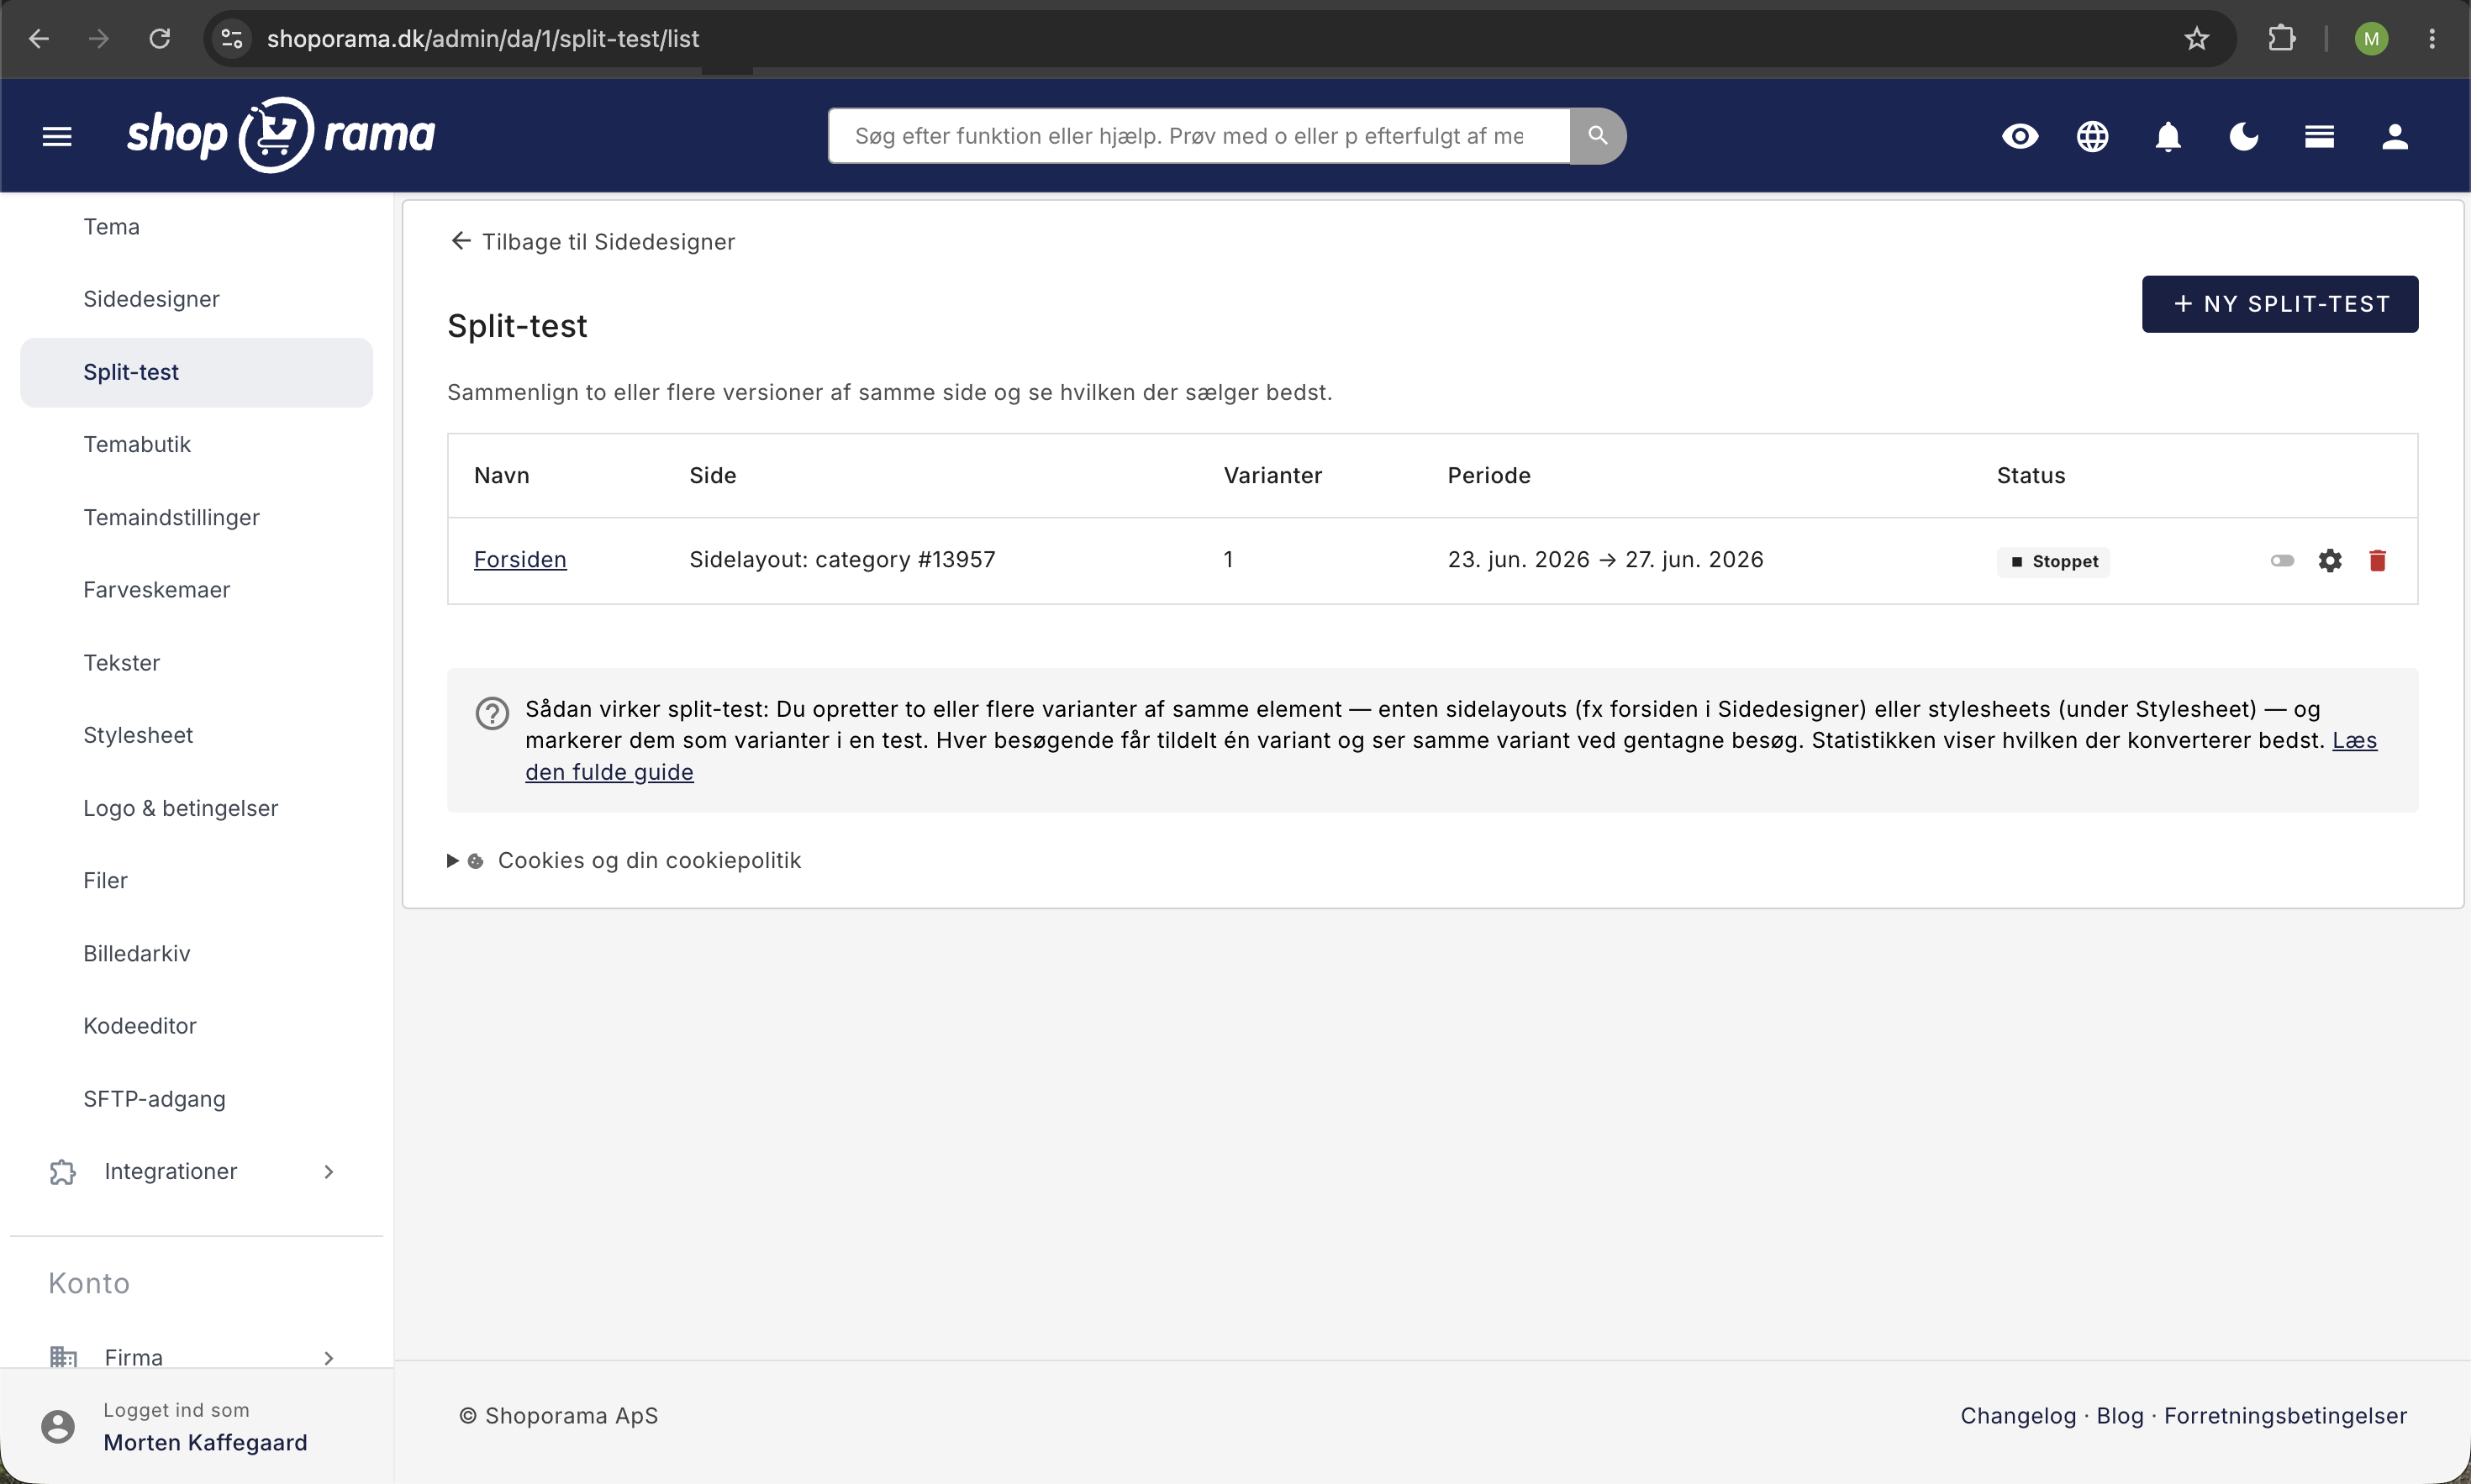
How does split testing work?
Quite simply, your Shoporama store consists of a theme, which is made up of many files. For example, your product is usually displayed in the file product.html. This file often includes another file called price.html, which displays the price, and one called add_to_basket.html, which displays the “Add to Cart” button. The way Shoporama performs split testing is by, for example, creating a clone of price.html (so you have two or more variants of that file). If you have two variants (the original and version B), Shoporama will simply show one file to one half of your users and the other file to the other half. If you want to test more versions, simply add another version, and then every third user will see that specific version. You can add as many versions as you want, but keep in mind that the more versions you add, the longer it will take to get a valid result you can rely on.
So your first task is to identify which file you want to A/B test. In this example, we’ll be A/B testing the text on the button, so we need to access the file add_to_basket.html. And here’s how to do it.
- Go to Account → Webshop → Themes (URL: /theme/list) in the left-hand menu
- Click the “Create New Theme” button
- Give your theme a name, such as “Add to Cart Button Test.” The name is only used so you can identify the test yourself
- In the field below, you can choose to lock the split test. If you don’t want to keep an eye on it, you can set the test to run for 1,000 orders and then lock it to the version that converts best (based on the number of orders)
- Below that, there are two fields. One contains all the files from the Shoporama themes, and the other contains all the files from your themes. Note that some themes have multiple versions, so be sure to locate the file in the theme you’re using. If you’re using your own theme, go to the bottom box. Scroll to the file you need—in our example, add_to_basket.html
- Click “Create” at the bottom of the page
- Check the box next to the file and click “Copy the selected templates”
- Rename the original for organizational purposes. Click the pencil icon next to the top one and name it “Original,” “Version A,” or whatever you’d like to call it
- Click "Save"
- Click the pencil icon next to the bottom version and name it “Version B” or whatever you’d like to call it
- Scroll down in the HTML on the page. Find the element you want to A/B test. In our case, it’s the text on the button, so we scroll down and find the <input> element containing the button
- Edit the text and click “Save”
- Click “Use this theme, ” and your split test will run
Note that you must disable caching for your split test to run.
How to track your split test
To check your split test, simply log in to Shoporama, go to Account → Webstore → Themes, and click on the theme you created. Click the pencil icon next to the theme, and you’ll now see your split test.
Enjoy your split test.
Bonus: Track your test in Google Analytics
We recommend that you track your split test in Google Analytics. This way, you can monitor your test in Analytics. It’s possible that one version performs really well on mobile but not on desktop, and you’ll be able to see that kind of information in Analytics. To do this, you’ll need to use Custom Variables in Analytics for each version of your code (both the original and Version B). Here, at the visitor level, you should specify whether the user has seen the original or Version B. The type of Analytics code you need depends on which version of Google Analytics you’re using on your site. Below is an example of what it might look like:
_gaq.push(['_setCustomVar',
      1,
      'Split test buy button',
      'Version B',
      1
   ]);
Remember: Done is better than perfect. So if you’re not sure how to set up Analytics tracking, just get your split test up and running. You can always dive deeper into Analytics before the next test begins.
Also note that if you have few visitors to your online store, it will take forever for your split test to yield any results. If you have few visitors to your online store, you should instead focus entirely on driving traffic.
Need help? Contact us at support@shoporama.dk.
Related articles
Set up a split test in Shoporama
Detailed guide to setting up a split test in Shoporama with step-by-step instructions.
Cookie consent and Consent Mode v2
How to set up Shoporama's free cookie consent app: categories, automatic blocking, consent revocation, and Google Consent Mode v2.
Facebook Conversions API
Guide to the Facebook Conversions API on Shoporama: setup with Pixel ID and access token, automatic deduplication of purchases, content_ids that...