Menus and navigation
Learn how to create and edit menus in your online store. The article covers menu item types, hierarchy, locations and drag-and-drop sorting.
With Shoporama’s menu builder, you can set up the navigation in your online store exactly the way you want it. You can create multiple menus, place them in different locations on the page, and organize them into a hierarchy with main menus and submenus.
Overview of Your Menus
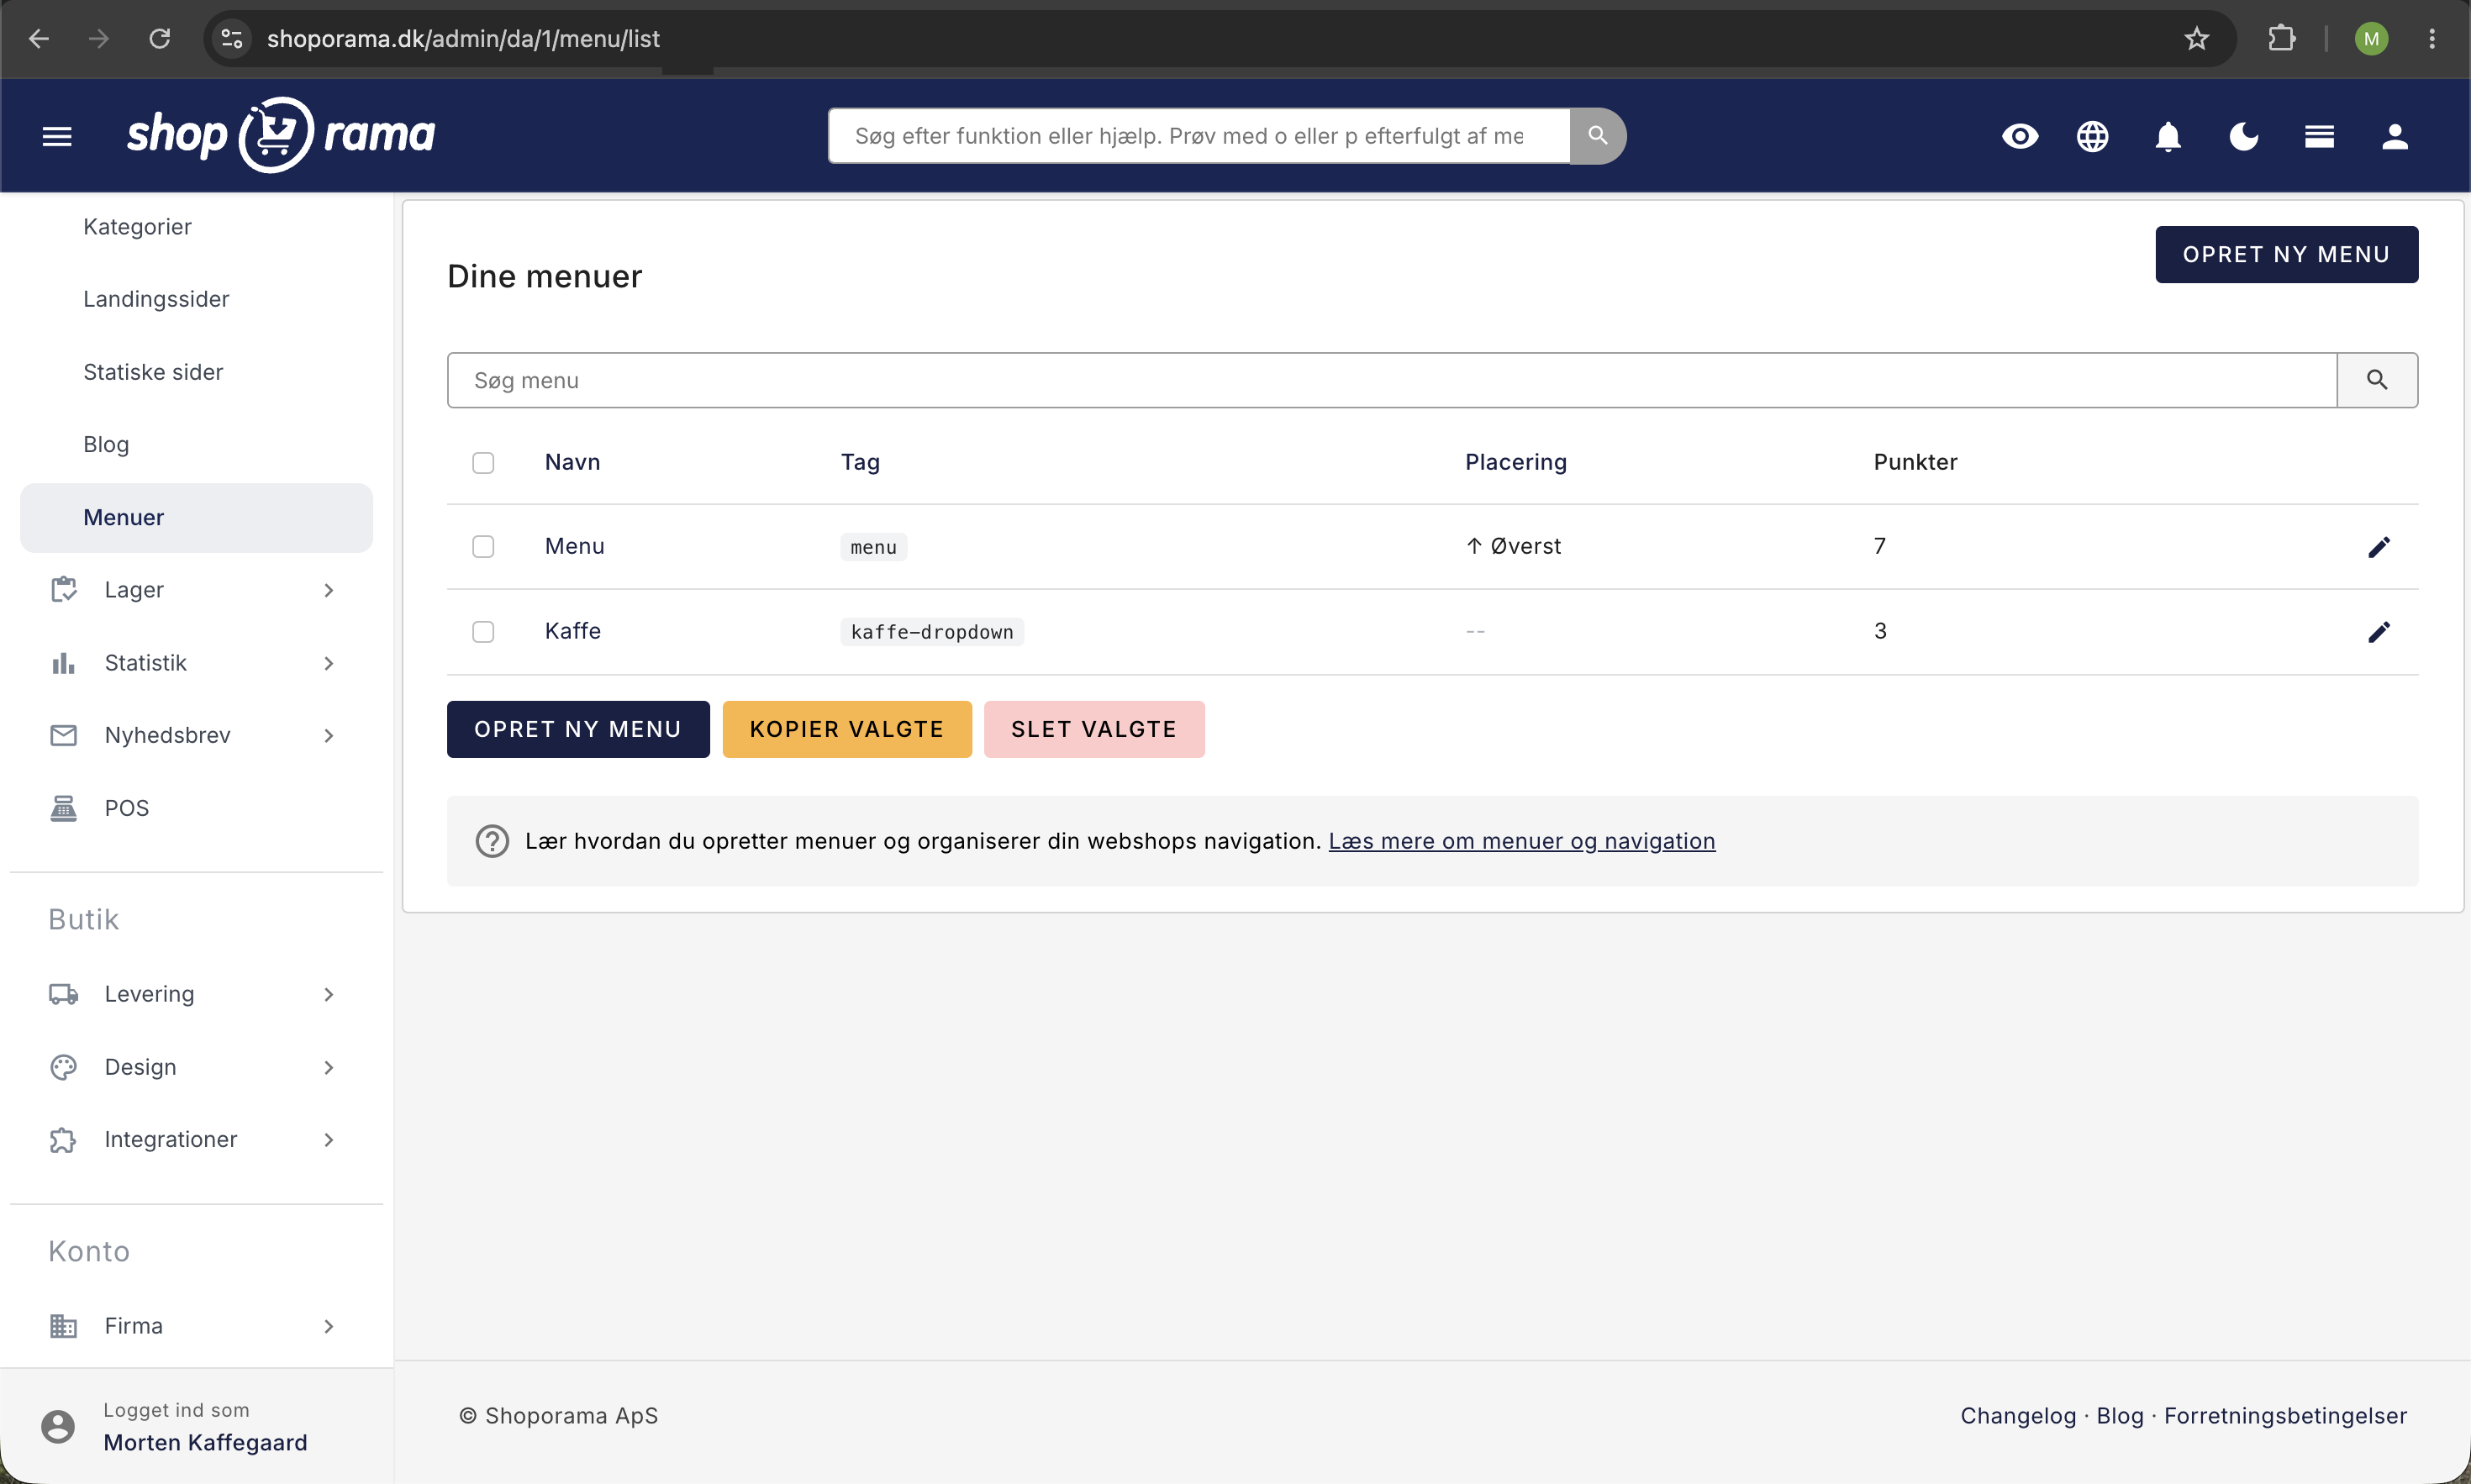
Under Content → Menus, you’ll find an overview of all the menus you’ve created. For each menu, the name and selected location (top, bottom, left side, or right side) are displayed. Click on a menu to edit it.
Create a New Menu
Click Create New Menu and give the menu a name. The name is used internally to keep track of your menus and will not necessarily appear on the front page. After you click Create, the edit view opens, where you can add menu items and further configure the menu.
Menu Settings
In the edit view, you can configure the following for a menu:
- Name — the internal name of the menu.
- Tag — a short technical identifier (automatically generated from the name) that your template uses to retrieve and display the menu in the correct location on the page.
- Submenu of — here you can choose to make this menu a submenu of another menu, allowing you to build a hierarchy of menus.
- Position — choose whether the menu should be placed at the top, bottom, left, or right. Note that this requires your theme to support the selected position.
Tip
The Tag field is used by your theme to identify which menu should be displayed where. If you change the tag on an existing menu, you may need to update your template to match the new tag.
What tags do the default themes use?
Each theme determines where to display individual menus based on the menu’s tag. If you’re using one of Shoporama’s default themes, the menu’s tag must match what the theme expects. If it doesn’t, the menu won’t be displayed, even if you’ve set the position correctly.
In the Montana default theme, the following applies:
- The top menu is controlled by its placement. Set the placement for a single menu to “Top,” and it will appear at the top. If you have multiple menus set to “Top,” only one will be displayed.
- The footer has space for two menu columns, and the theme retrieves them based on the menu’s tag. Give the first footer menu the tag ` footer_menu_1`, and give any second column the tag `footer_menu_2`.
Is your footer menu not showing up?
This is by far the most common reason: the footer menu in Montana is only displayed when the menu’s tag is footer_menu_1 (or footer_menu_2 for the second column). Simply setting the position to “Bottom” is not enough. The tag must be written exactly in lowercase letters and without spaces. Open the menu, change the tag to footer_menu_1, and save.
Add Menu Items
At the bottom of the edit view, select the type of menu item you want to add, and then click Add. The following types are available:
- Category — a link to a product category in your online store.
- Product — a direct link to a specific product.
- Landing page — a link to one of your landing pages.
- Static page — a link to a static page (e.g., “About Us” or “Terms and Conditions”).
- Blog Post — a link to a specific blog post.
- Link — a custom URL you specify — e.g., an external link or a specific page on your online store.
- Menu item (submenu) — insert another menu as a menu item so you can create dropdowns and subnavigation.
For each menu item, you can specify:
- Title — the text that appears in the menu. If you leave the field blank, the item’s own name (e.g., the category name or product name) is used automatically.
- HTML class — an optional CSS class that is added to the menu item if your theme supports it.
- Value — the category, product, page, or URL that the menu item should link to.
Sorting with drag-and-drop
You can reorder menu items by dragging and dropping them. Click and hold the small handle (≡) to the left of a menu item, and drag it to the desired position. The order is saved automatically right away—you don’t need to click Save.
Hierarchy and submenus
You can create a hierarchy in two ways:
- Menu as a submenu of another menu — in the menu settings, you can choose to make this menu a submenu of another. This creates a tree structure in the menu overview and allows you to organize menus into groups.
- Insert a menu as a menu item —by adding a menu item of the “Menu Item” type, you can insert an entirely different menu as a subitem in the current menu. The theme can then display this as a dropdown menu.
Tip
The combination of these two hierarchy types offers great flexibility. For example, you can have a main menu at the top with dropdowns that link to submenus, and a footer menu at the bottom with links to static pages.
Changing the URL of Menu Items
Shoporama saves the URLs of the pages you add to your menus for performance reasons. This means that if you later change the URL of a category, product, or page, you must open the relevant menu and save it again for the URL in the menu to be updated.
Delete a menu
At the bottom of the edit view, you’ll find the “Delete Entire Menu” button. Note that deletion cannot be undone. Individual menu items are deleted by clicking “Delete” next to the relevant menu item and then saving the menu.